The arrival of warm weather brings with it thoughts of outdoor living and grilling with friends and family.
But before you fire up the grill, it's important to take a good look at your deck.
If you're like many homeowners, your deck has probably seen better days.
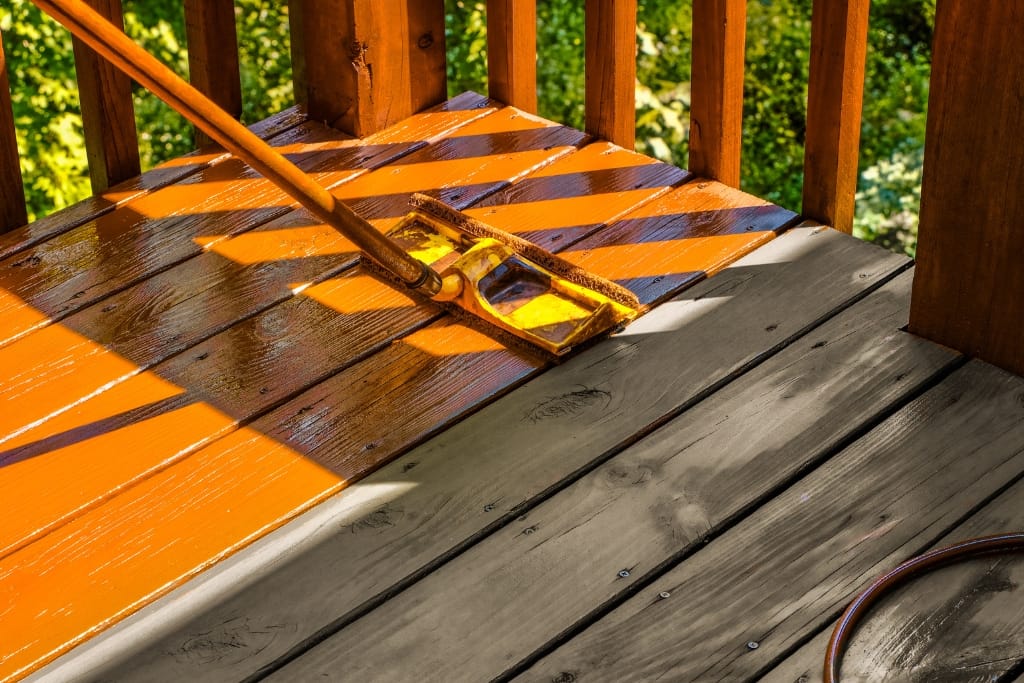
If your deck is looking a bit dingy, it's time to give it a facelift. A new coat of stain can transform any deck and make it look brand new.
But before you start, it's important to know what you're doing.
In this article, we will reveal 10 failproof deck staining tips that will help you achieve professional-looking results.
1)) Preparation Is Key
Prepping your deck for staining is the most important step.
Start by power washing your deck to remove any dirt, grime, or stains. Once it's dry, sand down any rough spots or splinters.
Finally, use a deck cleaner to remove any remaining debris and let it dry thoroughly before starting the staining process.
2)) Choose The Right Stain
Choosing the right type of stain is essential in achieving the desired result.
There are two types of deck stain: oil-based and water-based.
Each of them has its advantages and disadvantages, so make sure to do your research first before buying.
3)) Test The Stain
Before you apply the stain to your whole deck, it's a good idea to test it on a small, inconspicuous area first.
This will help you determine if you like the color and how well it takes to your deck's surface.
4)) Apply In Sections
To avoid lap marks and a blotchy finish, it's crucial to apply your stain in sections and make sure you keep a wet edge.
A wet edge refers to the area of the deck that's still wet with the stain you've just applied.
This will help the next section blend with the previous one.
5)) Use A Brush Or Sprayer
When applying the stain to the deck, you can either use a brush or a sprayer.
A brush will give you more control and allow you to get into tight corners.
A sprayer, on the other hand, is faster and more efficient but can be difficult to control, especially if it's windy.
6)) Don't Overapply
Overapplying your stain can lead to a sticky or blotchy finish, so be sure to follow the manufacturer's recommendations for application.
It's better to apply two thin layers of stain than one thick layer.
7)) Stain The Railings First
Staining your railings should be the first step in the application process.
This is because you'll be dripping stain onto the deck as you work on the railings, and you won't have to worry about staining the deck last.
8)) Avoid Sunlight And High Humidity
The ideal conditions for staining your deck are between 50-90 degrees Fahrenheit, with low humidity and good ventilation.
It's best to avoid staining when it's too hot or when the humidity is high, as this can cause the stain to dry too quickly, leaving lap marks and raised grain.
9)) Wait For The Stain To Dry Completely
For best results, wait for 24-48 hours after the final coat of stain has been applied before using your deck.
This will give the stain enough time to dry completely. Walking on or placing furniture on the deck before it's dry can cause the stain to smudge or be patchy.
10)) Maintain Your Deck
Once you've applied a fresh coat of stain to your deck, it's important to maintain it. Sweep away leaves and debris regularly.
Clean up spills and stains as soon as they happen and reapply the stain every two to three years.
Conclusion
Staining your deck can be a fun and rewarding project that can transform the look of your outdoor space.
By following these failproof tips, you can achieve professional-looking results that will last for years to come.
Remember, preparation is key, choose the right stain, test it out, apply it in sections, and maintain your deck to keep it looking great.
Following these guidelines will help you create an outdoor oasis that you'll enjoy year after year.
Download Our Free E-book!


